Wednesday, June 27, 2012

New Interior Doors

Our door project consisted of 10 new blank doors. We had to measure and cut all doors to fit in our not so straight openings.


After cutting the door to size we took it to the opening to make sure it fit. Holding it there we marked the hinge position and the notching began. We used a chisel and mallet and very slowly we started whittling the side of the door. This was a very slow and tedious process! 30 notches later...we were done!


We had a drill attachment for the 2 holes in the door.
Sanding indoors is not recommended! After cleaning the mess, we decided this was the only one we would be doing this way. For the other doors we actually removed the door molding, took it outside, sanded, primed, and painted it. A lot of work but it made a big difference.
                                                                                                                                                                     this is where we removed the molding and took it outside to be sanded. 

left side is not sanded...right side is sanded...you have to enlarge the pic to see the difference
This was our assembly line for door painting. Each door had to be painted twice on each side...then they were finally ready to install. Since we removed the old doors and got rid of them before we were actually finished with the new ones, we had sheets hanging as our doors...even the bathroom...the kids didn't appreciate that too much :)


We are finally finished! This seemed like such a long process...probably because it was, but it was all worth it


Sunday, June 17, 2012

Crown Molding

This was our setup for painting all the molding. We painted, measured, cut, installed, caulked all cracks and nail holes, then painted again. All of this we did to 4 bedrooms and 2 bathrooms. I am not really sure how long the whole process took, but I do know it was too long. 


                                          This is Peytons room before we moved in...NASTY
                                          After:
                                          Carters room before:
                          After:
               For some reason I don't have a before of Justins room but it wasn't any better than the others.


Wednesday, June 6, 2012

Our next BIG project

 This is currently how the front of  the sad house currently looks.
These are my attempts at changing the windows and exterior colors. We think we are going to go with the white windows and I guess the exterior color will come later. We will be installing the windows ourselves so we have a while to make that decision.


Monday, April 30, 2012

Sewing curtains and pillow covers

I sewed my first pair of curtains and pillow covers this weekend. I have had my sewing machine for probably 6 or 7 years and these are the first things I have made on it...terrible I know, but I will be getting a lot more use out of it. My daughter and Justin (my boyfriends nephew who lives with us) have already placed orders.

This is what the living room looked like before we moved in...very sad


This is how it looked after we spiced things up and got some new furniture. Btw the end table with wagon wheels is not new

These are the pillows that came with the furniture. There seemed to be too much beige in the space with the couch, chair, ottoman, rug, and lamp shade

 This was my first attempt at covering the pillows. Not bad, but I never even sewed the bottom closed because I didn't plan when I was cutting the material and I wanted to be able to remove them so they could be washed if needed.
(Front)

(Back)

 One of the new covers. This is the first one I sewed and it turned out perfect.

 This is the second one and the front looks great 

 This is the back of the second one and I sewed the pocket for the pillow wrong. I wanted the top piece of material overlapping the bottom piece but I did it the oposite. When I made the pocket for the pillow I made sure to overlap the material about 3 inches which worked pretty good. If I had it to do over I think I would overlap maybe 5 or 6 inches just because they are full pillows and they needed a little more room to expand.

 The third one I was feeling a little too confident. I faced one piece of material the wrong way so when I turned it right side out, half of it was inside out :( It took two hours to rip all of the seams.

 After all was done it turned out perfect. You can't even tell I ever messed up and the top piece of material is overlapping the bottom piece as it should!

I couldn't contain my excitement

The beer in the window could have been the reason for the sewing mishaps. This is not recommended

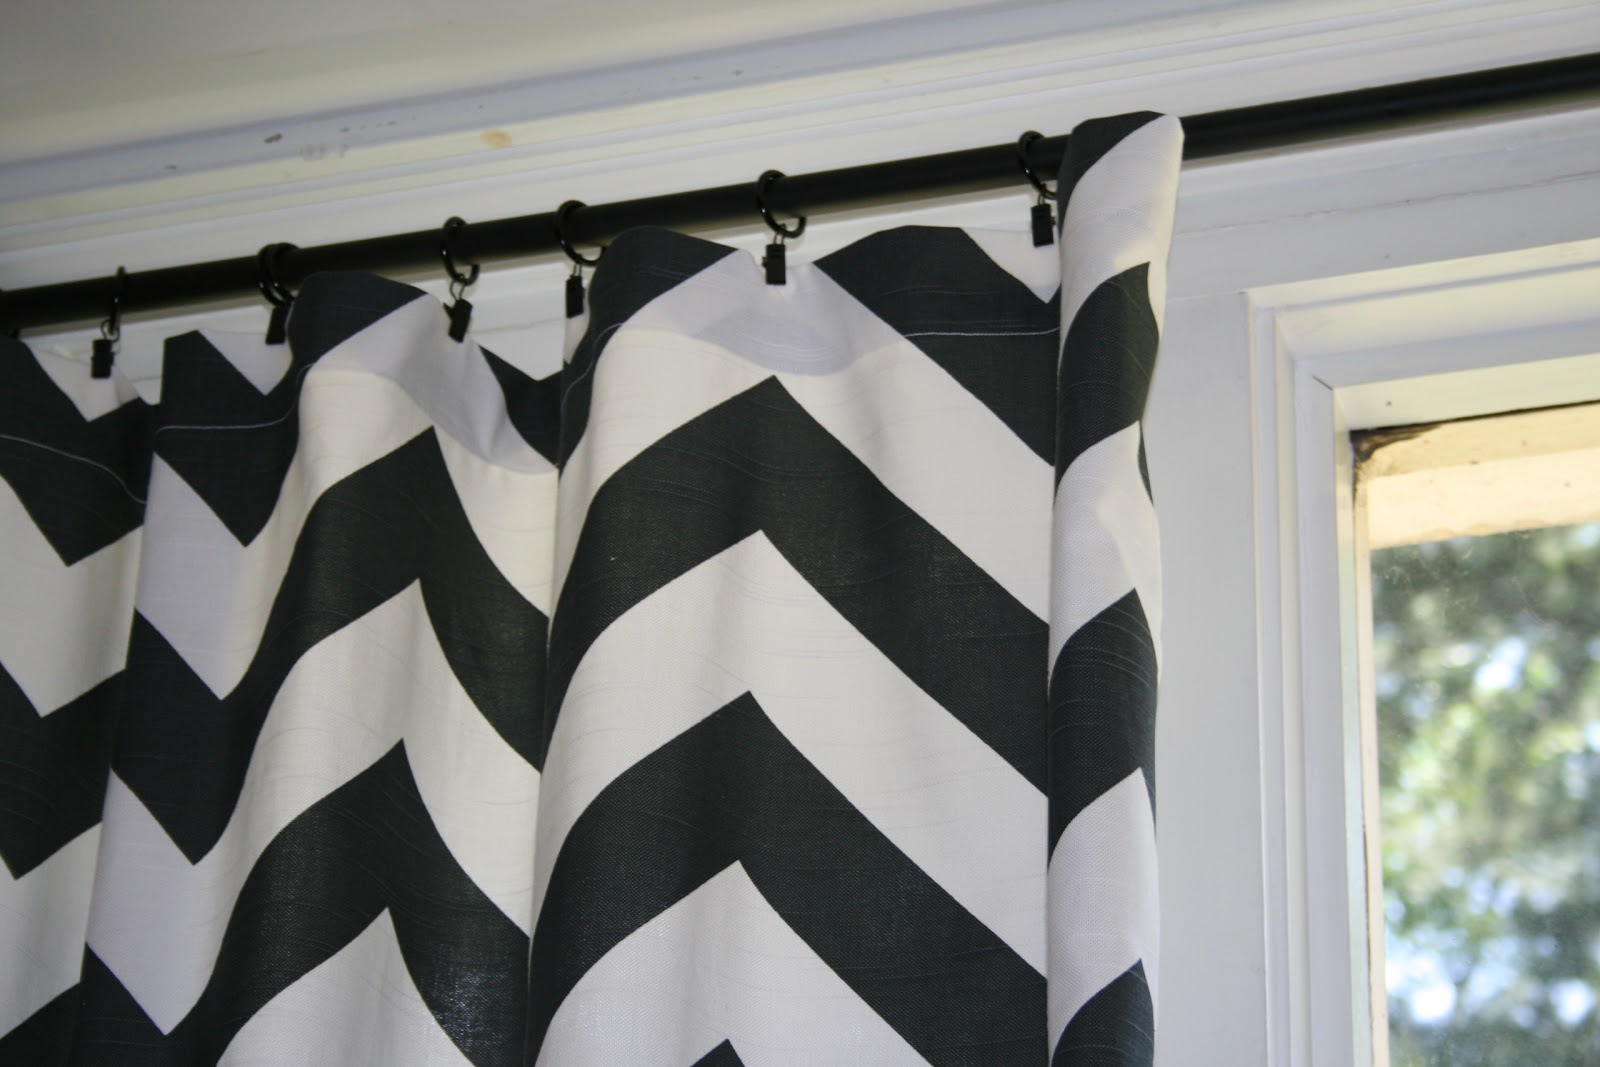
For my first time ever sewing curtains I went with the simplest way I knew...ok, the only way I knew. First things first...fold and iron the edges of the material that I will be sewing. After I got all of the edges ironed, I pinned the folds so they didn't move while I was sewing.  The sides were sewed first...about a 1 inch seam. Then I sewed the top and bottom. On the top I did a 3 inch seam and the bottom a 6 inch seam. I choose to use the clips to hang the curtain but I did leave a pocket so the rod could slide through the curtain and hang that way.
And here is the finished product. I still love looking at them